

Friday, April 29, 2011
Stampin' Up!'s Aviary Stamp Set....
Thursday, April 28, 2011
Stampin' Up!'s Circle Circus stamp set...

Wednesday, April 27, 2011
Stampin' Up!'s Elements of Style & April Promo Set - Four Frames...
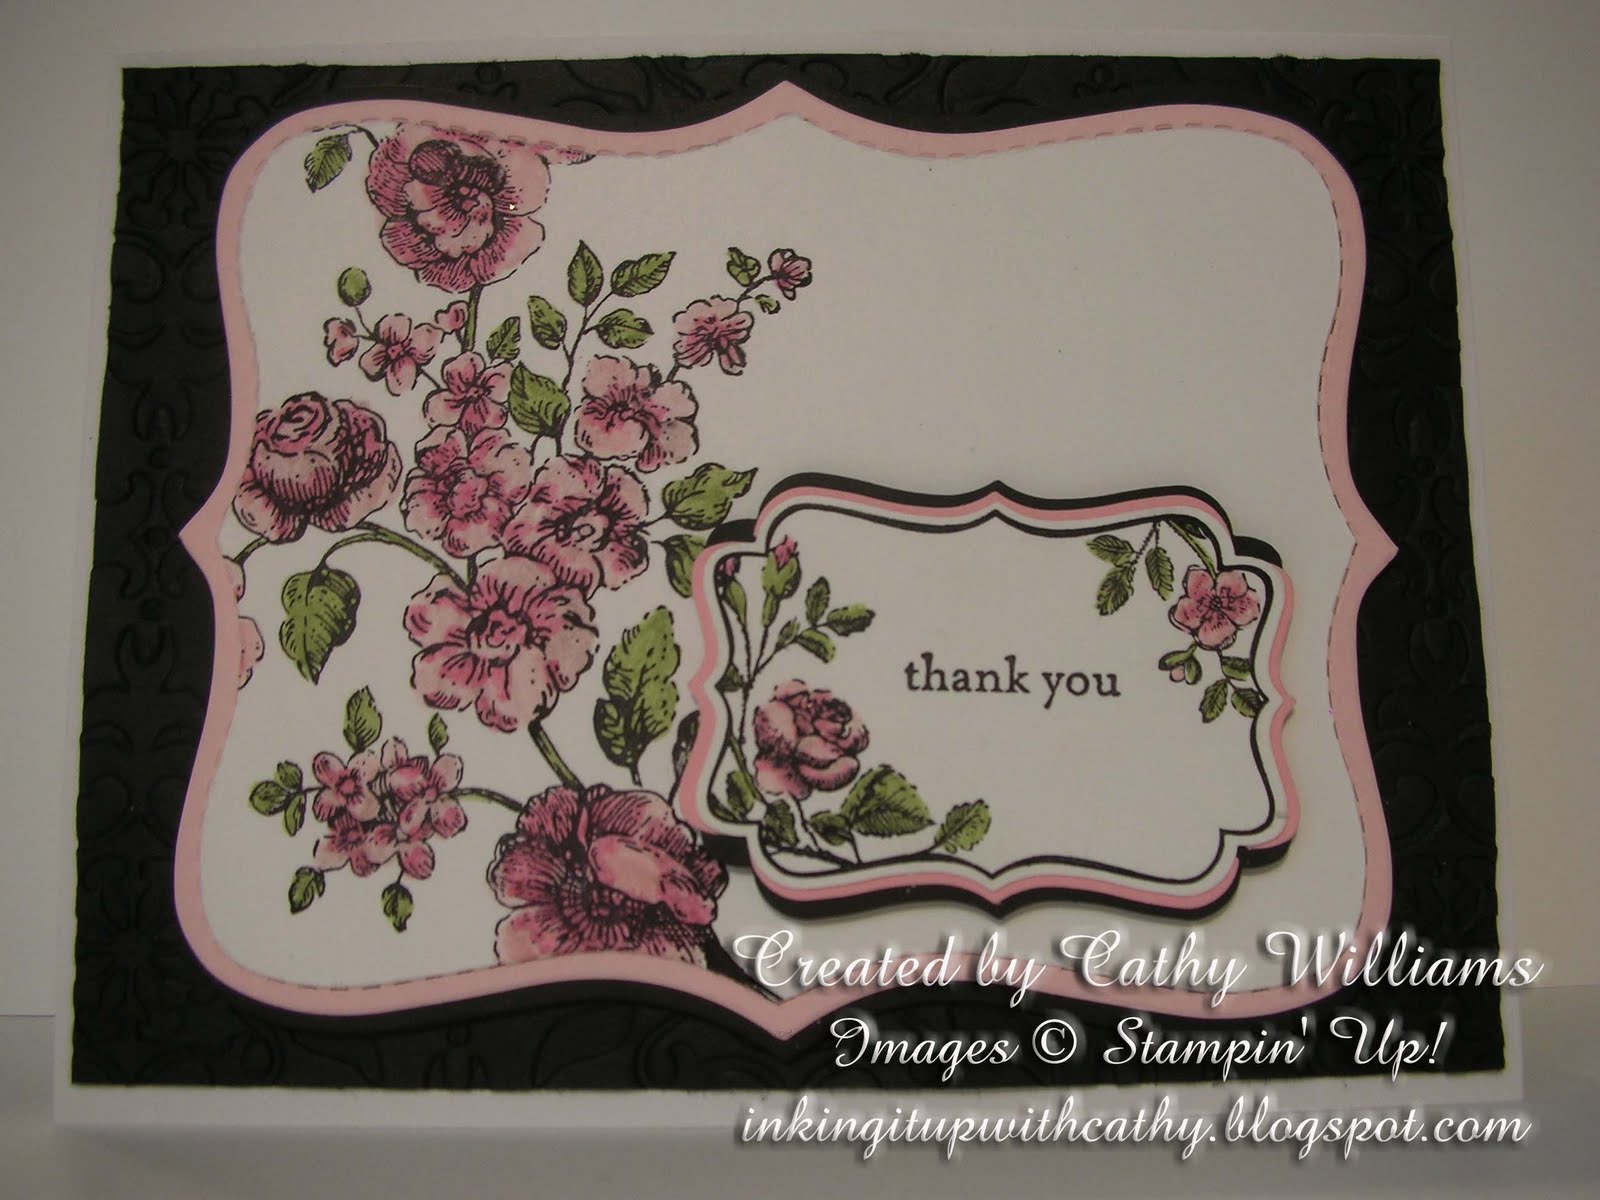


The completed piece will look like above from the front and like below from the back.


Tuesday, April 26, 2011
Technique Tuesday - Magic Ink Background....
You've been waiting for it, right? Well, here it is - the technique I used on my April 18 blog entry - Magic Ink Background. We all like the look that alcohol inks make for backgrounds but don't want to invest in a whole lot more inks, right? And the biggest problem is that they are not in Stampin' Up!'s wonderful coordinating colors! Well, now you can make them yourself and get that same look using your Stampin' Up! reinkers!

Rubbing Alcohol
Two colors of coordinating reinkers (I used Pacific Point and Old Olive)
A cotton ball
Versamark Ink Pad
Clear or white embossing powder
Heat gun
Glossy cardstock
Stamp image you want to show through the background (I chose Nature's Nest's feather)


Monday, April 25, 2011
Stampin' Up!'s Designer Series Paper...What to do with your scraps!

Thursday, April 21, 2011
Pinwheel Card....

Wednesday, April 20, 2011
Stampin' Up!'s Fifth Avenue Floral Stamp Set...

Tuesday, April 19, 2011
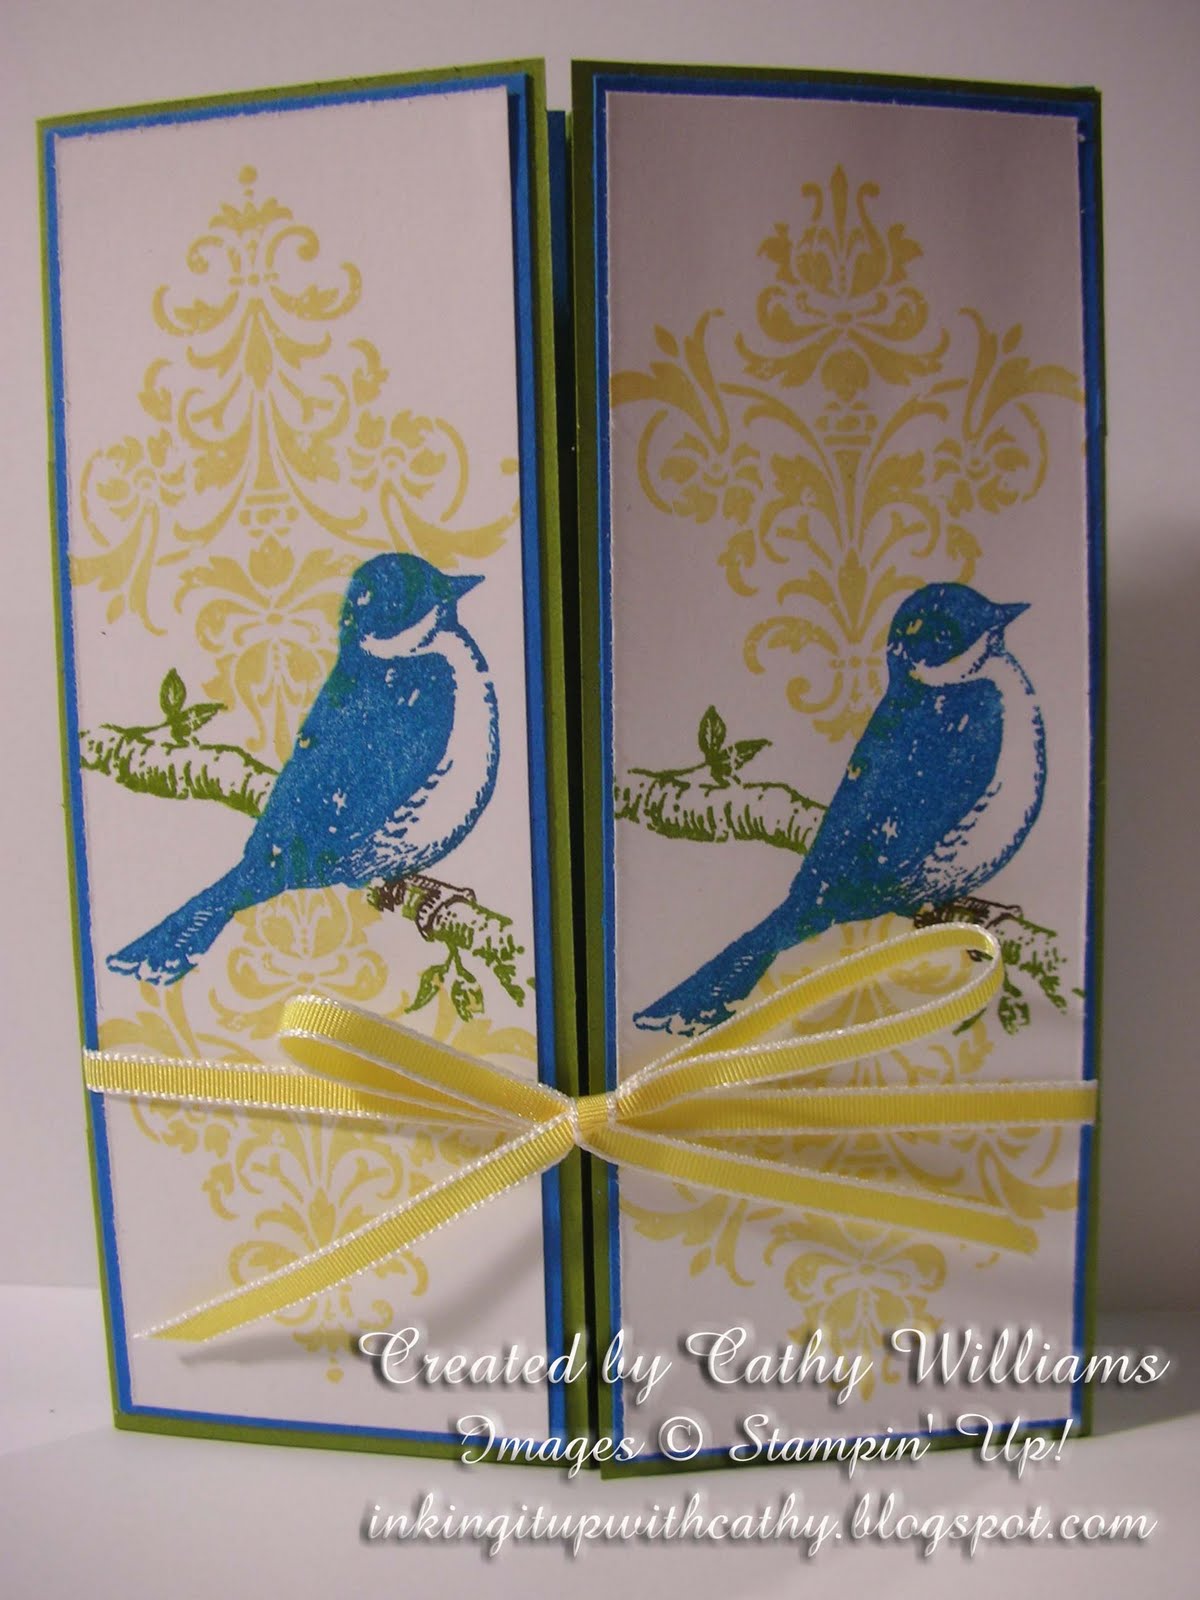
Technique Tuesday - Secret Fold Card...
Today I am going to teach you how to make a Secret Fold Card. It is one of those WOW cards that is actually easy to make. Here's what you will need:
Your Cutter
Two Coordinating Stampin' Up! Cardstocks - Mine are Old Olive & Marina Mist
 Cut a piece of Old Olive Cardstock to 8-1/2"x5- 1/2" Score the paper at the half way point (4-1/4").
 Score the cardstock again at 2-1/8".
 Flip the cardstock around and score again at 2-1/8". You should end up with three score lines that are an equal distance apart.
 Turn the cardstock 90 degrees and cut the cardstock at 2-3/4" between the two outside score lines.
 Move the cardstock and cut the cardstock at 1-3/8" between the outside score lines and flip the cardstock 180 degrees and cut again at 1-3/8" between the score lines.
 You will end up with something like this. I know it is difficult to see the score lines in my picture but hopefully you will get the idea from it.
 Fold along score lines so that it makes an "M".
 Taking a piece of 5-1/2"x 4-1/4" coordinating cardstock and cut in half at 2-1/8".
 On left side of cuts, begin weaving one strip of the Marina Mist cardstock over, under, over under through the left side cuts.
 Then take the other piece and begin under, over, under, over until your card looks like this.
 Cut four pieces of Whisper White cardstock that measure 2" x 1-1/8". Stamp images on these.
 Turn card around so you have a gate fold front. Attach stamped images and stamp other sentiments inside
 Fold up as shown above and grab ahold of the green pieces on the left and right side of the middle fold.
 Pull outward to show center of card.
 Decorate the card with the other two stamped images and any other stamping you wish to do.
 Decorate the front of the card. If you attach ribbon like I did, do not put it all the way around the card because it will stop the card from working properly. Just adhere it behind the matting of your front images. Good luck - it is such a cool card!
Your Cutter
Two Coordinating Stampin' Up! Cardstocks - Mine are Old Olive & Marina Mist


Monday, April 18, 2011
Stampin' Up!'s Aviary Stamp Set...

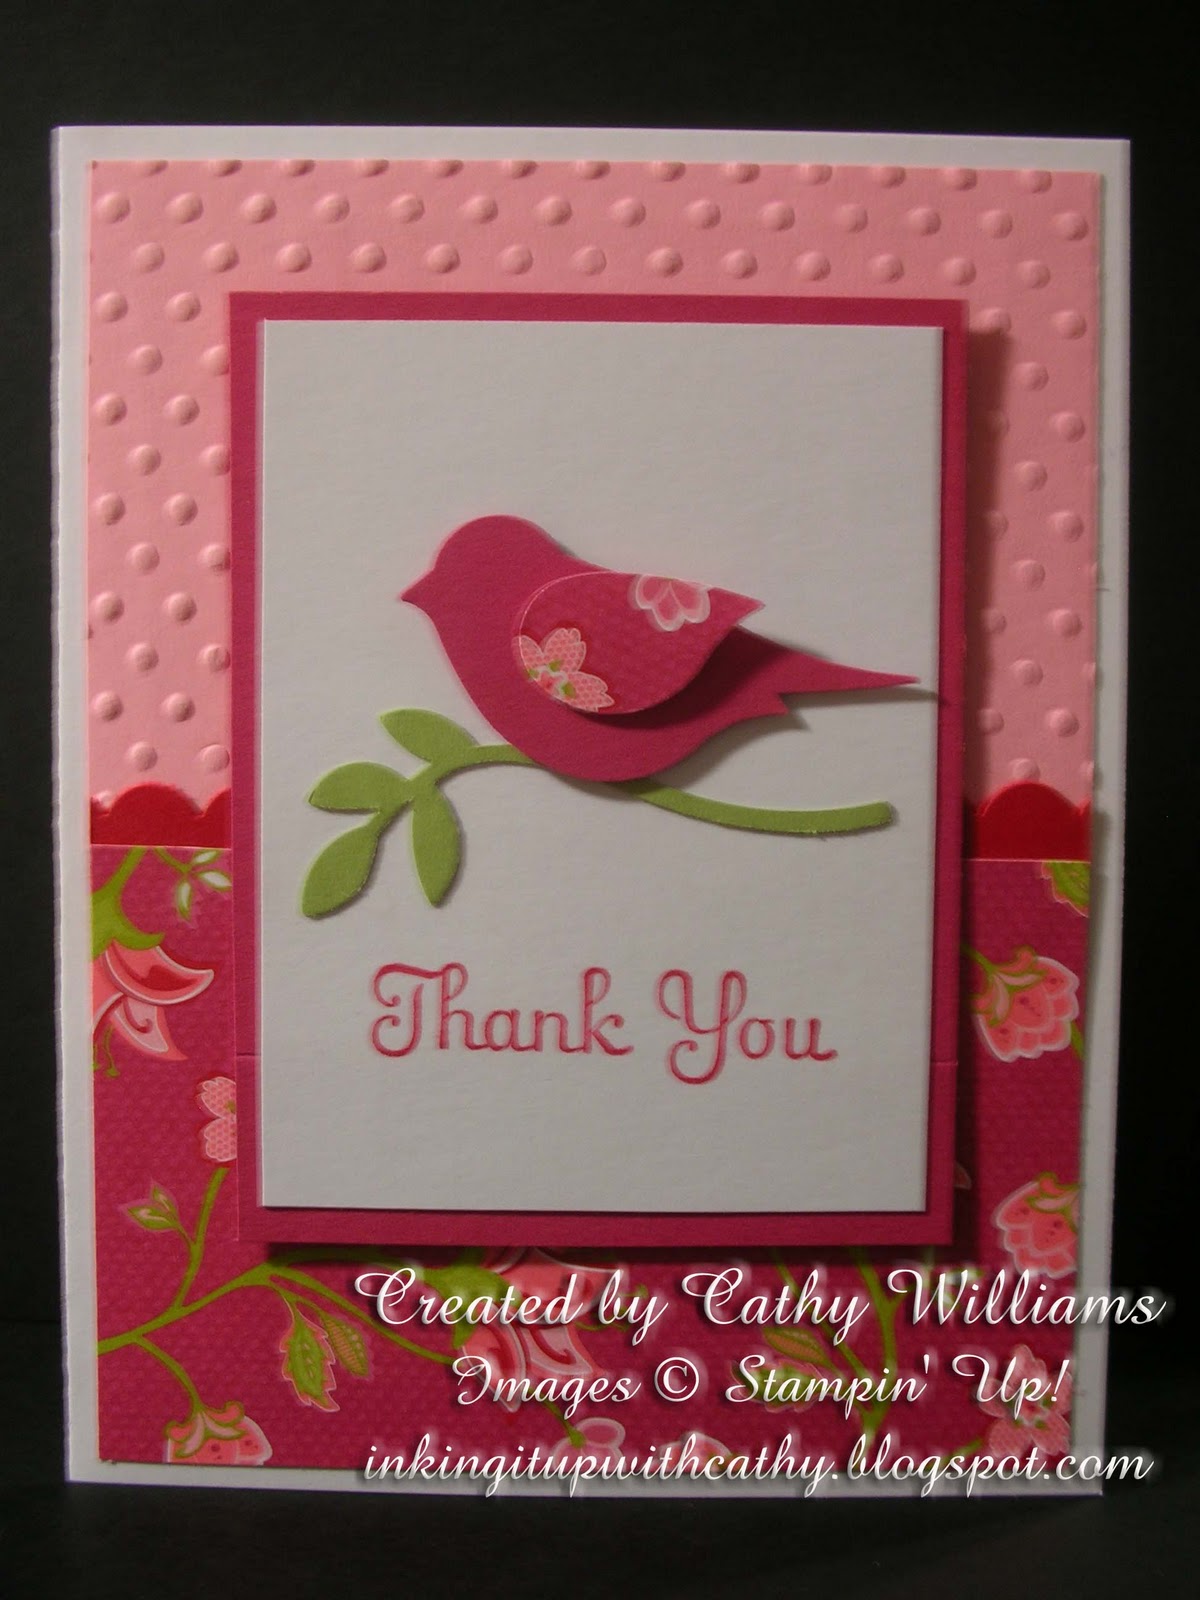
The colors used on this card are Pumpkin Pie and Melon Mambo - definitely spring colors! What a bright and cheerful card to give to your mother on her special day!
Friday, April 15, 2011
Stampin' Up!'s Two Step Bird Punch....
Thursday, April 14, 2011
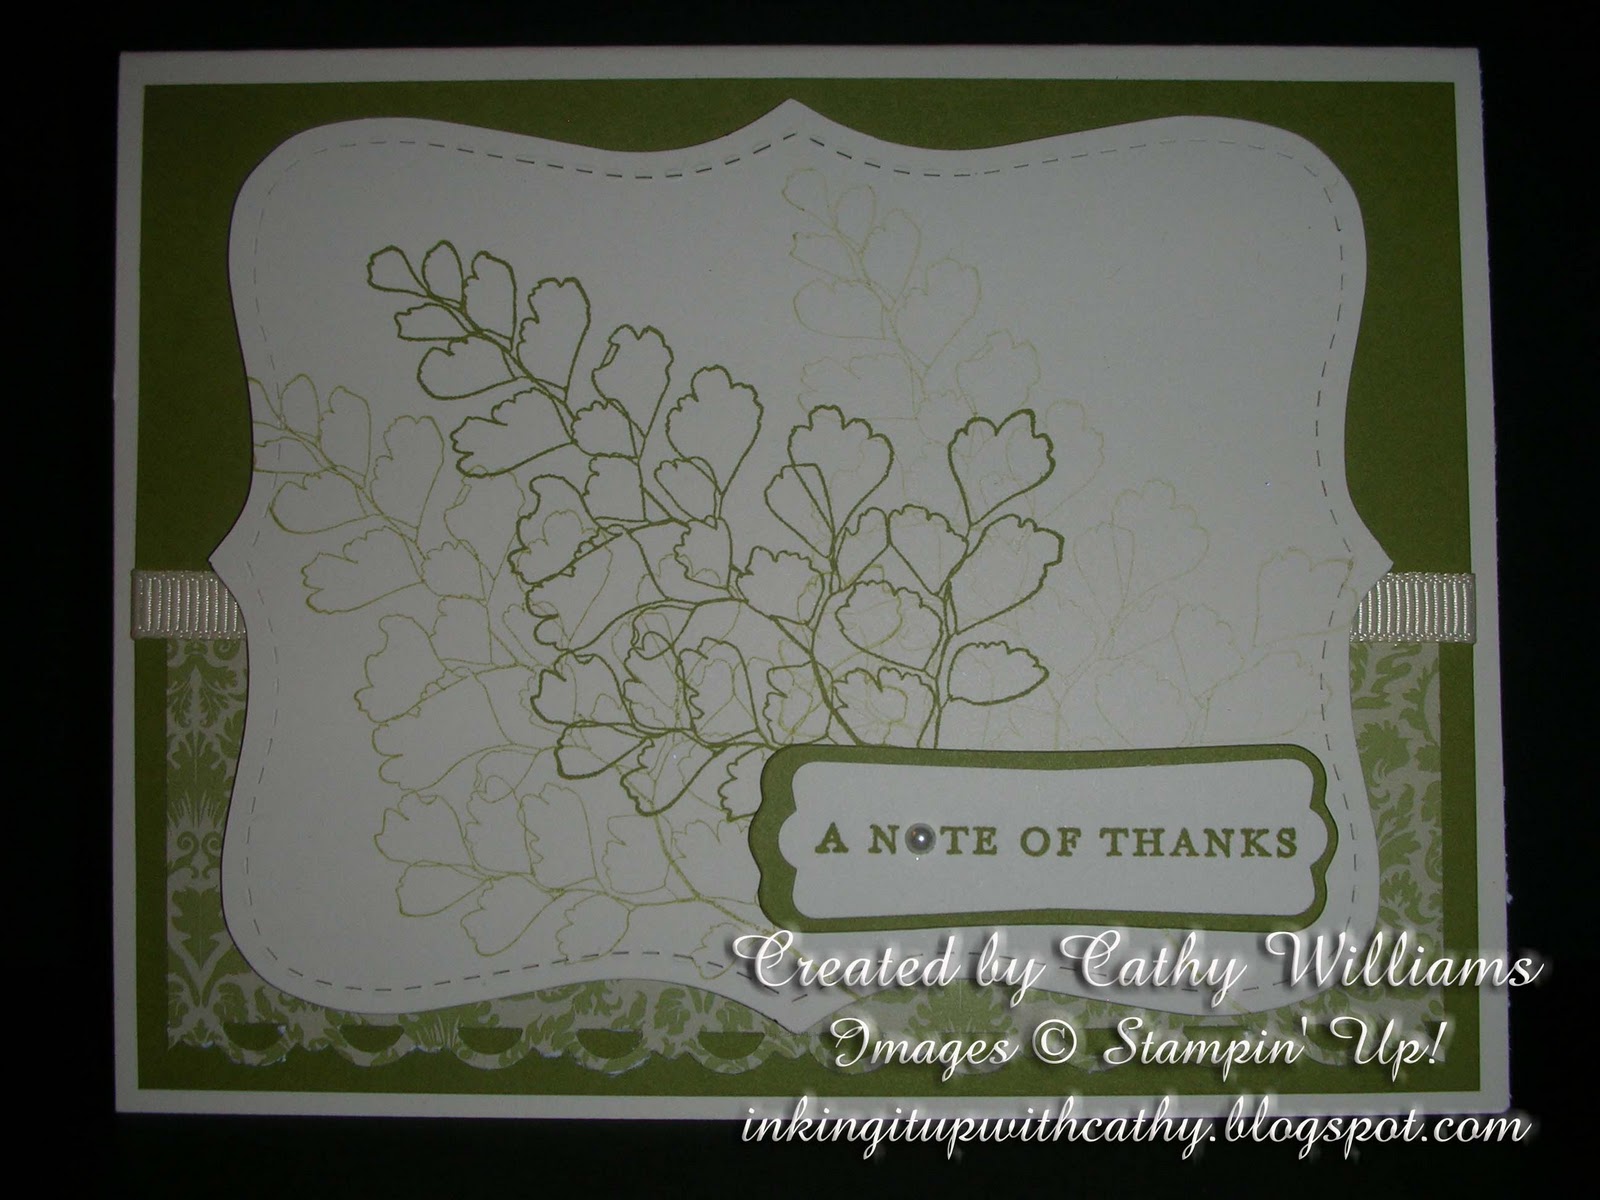
Stampin' Up!'s Growing Green stamp set...
Wednesday, April 13, 2011
Stampin' Up!'s Sweet Summer set....

Tuesday, April 12, 2011
Technique Tuesday - Pigment Pastels
Today I am going to show you a technique using your Stampin' Up! White Craft ink and Stampin' Up!'s Pastels. You will need:
White Craft Ink
Stampin' Up! Pastels
Aqua Painter
Basic Black Classic Ink
Heat Tool
Detailed Image Stamp
 First, stamp your image on your cardstock using the Basic Black Classic Ink and heat set.
 Next, take your Aqua Painter and pick up ink from your White Craft Ink Pad.
 Color areas of your image that you want DARKER than others. Once you have colored all areas, heat set. Make sure you clean your Aqua Painter right away to remove any Craft Ink.
 Color your image using Stampin' Up! Pastels. You will begin to see that the areas that you colored with the white craft ink stay darker after you are done.
 This technique works best using the darker pastels.
 Here's my card that I made using this technique. Hope you enjoyed it!
White Craft Ink
Stampin' Up! Pastels
Aqua Painter
Basic Black Classic Ink
Heat Tool
Detailed Image Stamp


Subscribe to:
Posts (Atom)