Welcome back to Technique Tuesday! I know, I was the one missing and not you. But I am back and today I am going to show you how to make a ribbon rosette. The 1/2" Stitched Poly Ribbon in the 2010-2011 In Colors works great for this technique because of the contrasting edge and center.
Here's what you will need:
- Big Shot
- Sticky Sheets
- Circles #2 Die
- 18" of Ribbon
- Pearls/Rhinestone or Brad
Using the second to the smallest circle on the Circles #2 die, cut out a 1 1/2" circle of Sticky Sheet using your Big Shot.
Peel off paper from one side of sticky circle. Fold one end of your ribbon in half lengthwise.
Press the end of the ribbon into the center of the circle. If you are off a little, it will not matter. You will just end up with a smaller rosette.
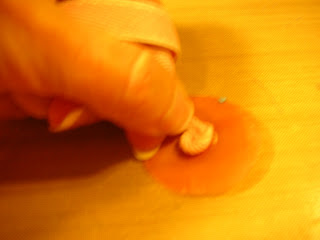
Twist the ribbon tight and begin to press it down on the sticky strip in a circular motion. The tighter you twist the ribbon, the easier it is to do this.
Continue to press it down into a circle, stopping often to twist the ribbon tightly.
Once you fill the sticky circle or run out of ribbon, trim off any excess of ribbon leaving a little to tuck in the back. As you can see at the bottom of my rosette above, there is a little sticky circle exposed. Turn your rosette over and trim off any of this excess.
Peel the other side of the sticky strip back and tack down the ribbon end.
Place a pearl, a rhinestone or a brad in the center of your rosette and attach it to your card.
Here's the card that I made at a recent workshop where we made the ribbon rosettes. They were a hit with everyone. I hope you have fun making these as well!


No comments:
Post a Comment