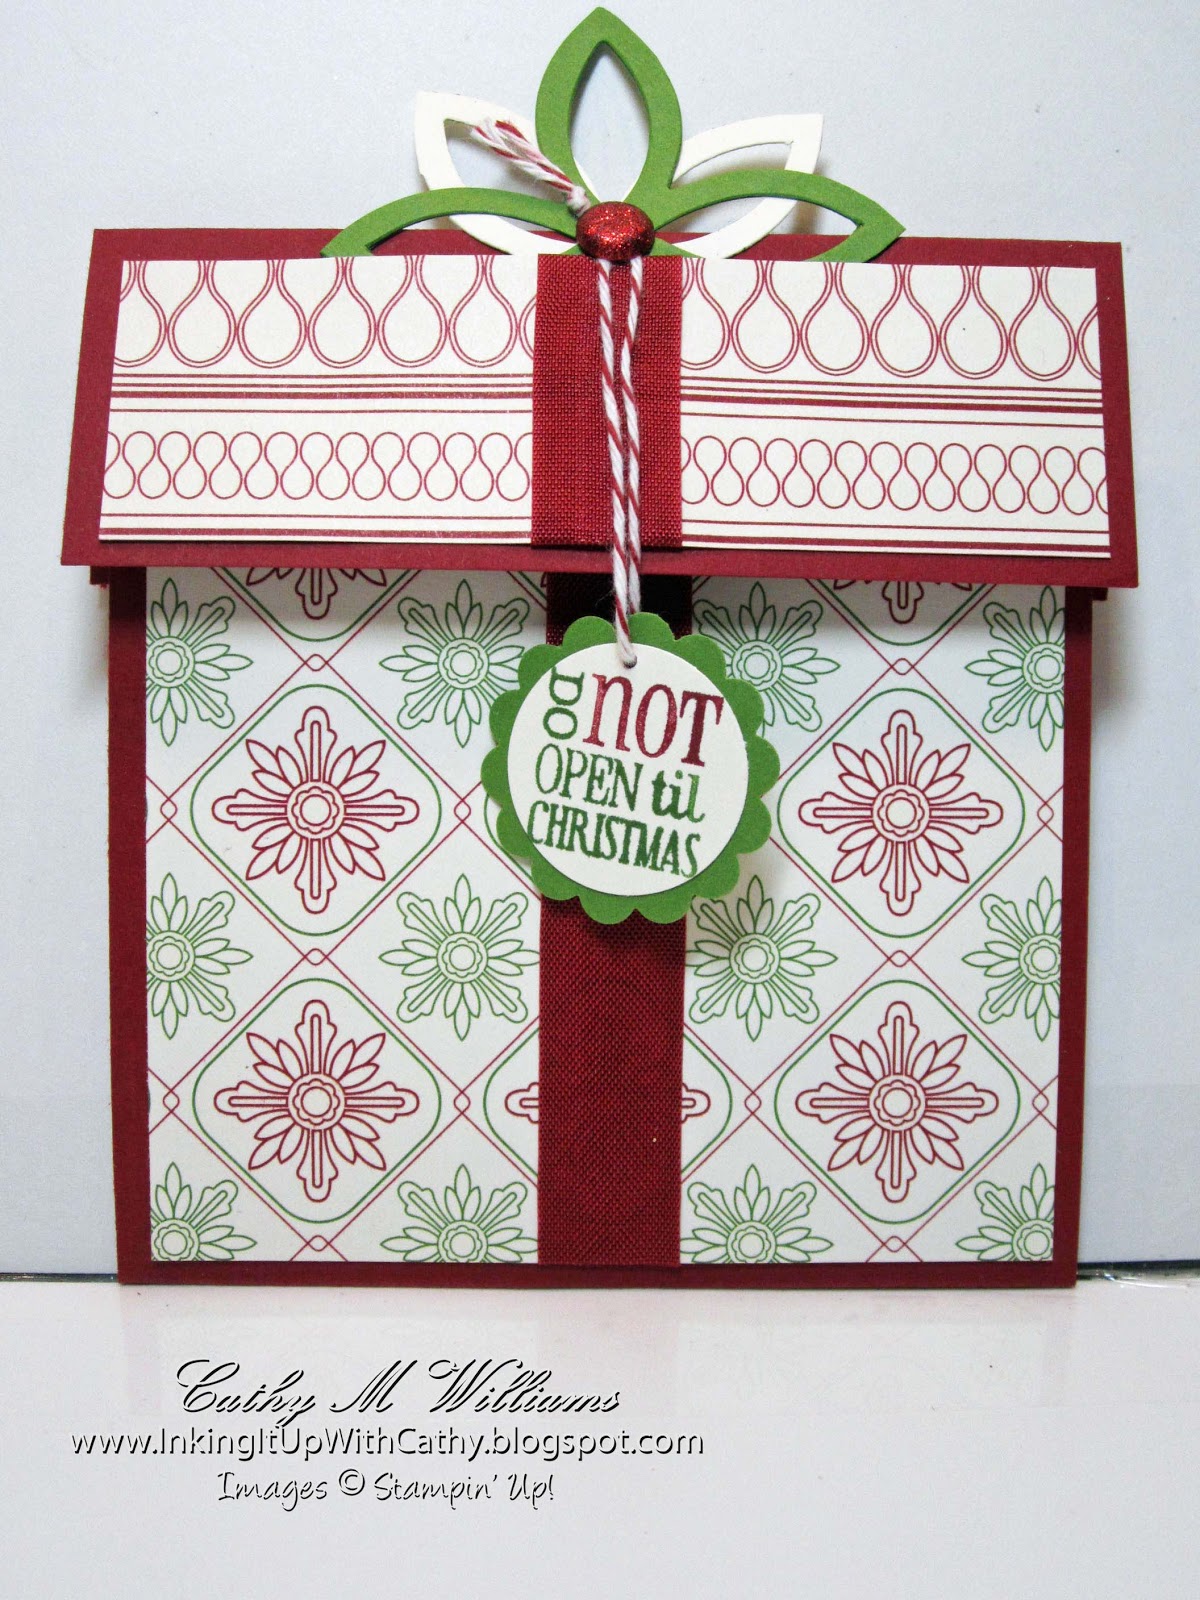
Here's our final gift card holder that we made at the class. A huge "thank you" to the women who came up with these gift card holders which I found via Pinterest and Splitcoaststampers. I am not clever enough to come up with them myself but I am great at CASEing!!!
To make this gift card holder, you need to start out with a piece of cardstock that is 4" x 11" piece of cardstock. You will need to score it at 4", 5 1/2" & 7". Fold it in half and then fold along the other two score lines so you have a small tab inside the 4"x4" card. Where the two folds meet on the bottom, you will want to put a single strip of Sticky Strip to hold it together. Then take a gift card and mark the two sides of the tab. Use the Word Window punch to create an opening in the tab to insert the gift card into. Then stamp the inside piece and place a ribbon vertically on the patterned paper that will go on the front.
For the lid, take a 4 1/4" x 4" strip of cardstock. Score and fold it in half so you have a 2" x 4 1/4" top. The bow is made using the Lattice Die and was attached to the front with a glitter brad at the very top of the lid. A ribbon was then wrapped around the patterned paper and was attached to hide the rest of the Lattice pieces. A tag was wrapped around the brad using the baker's twine.
Here's what you will need to duplicate this card:
Stamps: Tags Til Christmas & Ornament Keepsakes
Inks: Cherry Cobbler, Gumball Green & Basic Black (inks & markers)
Paper: Cherry Cobbler, Very Vanilla, Gumball Green and Be of Good Cheer
Designer Series Paper
Other: Lattice Die, Cherry Cobbler Seam Binding, Cherry Cobbler Baker's
Twine, 1 1/4" Scallop Circle Punch, 1" Circle Punch, Glitter Brad
Forever Stampin',
Cathy Williams


No comments:
Post a Comment