Showing posts with label More Merry Messages. Show all posts

Monday, December 1, 2014

It's Christmastime!!!!

I cannot believe it is actually December and Christmas is just around the corner.  This year, I am dedicating the entire month of December to Christmas cards.  I hope you enjoy your daily Christmas card from me!
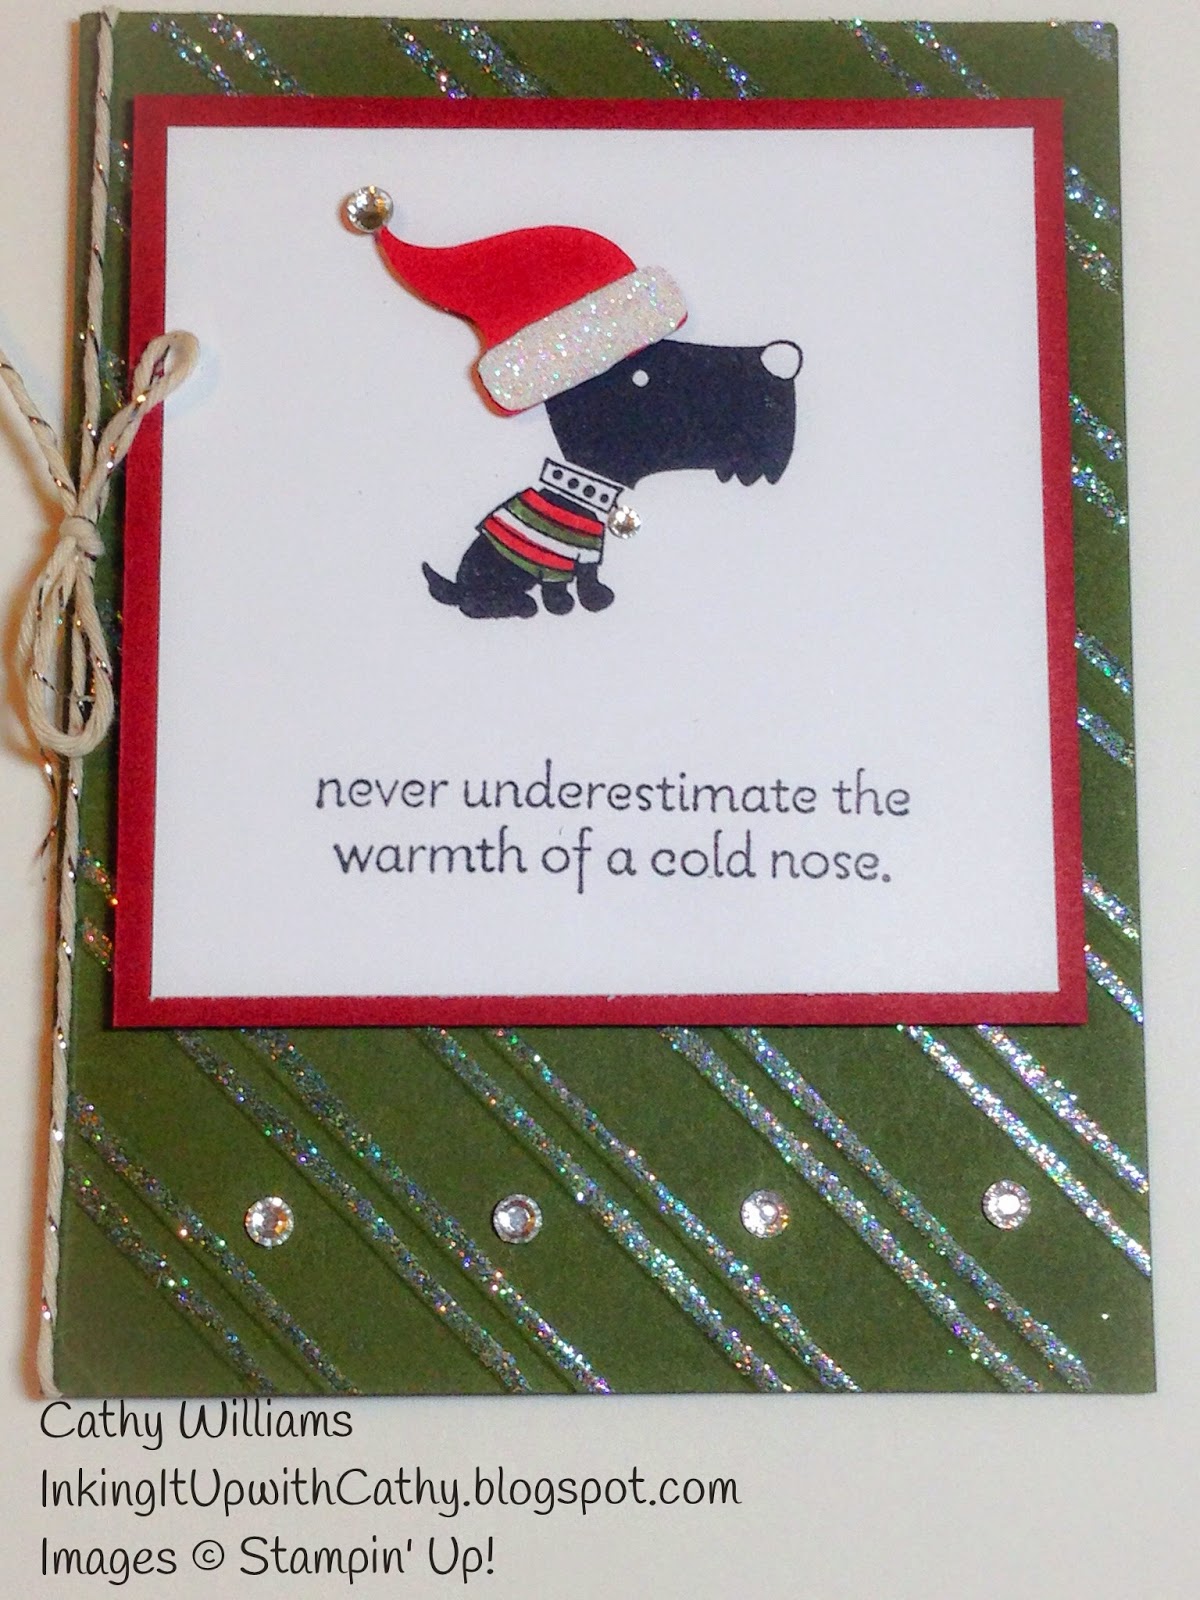
I recently held a class where attendees were able to choose between the Hot Diggity Dog and You Little Furball stamp sets.  Here are the Christmas cards that they made with the set.  The hat was made using the Embellished Events stamp set.
Both of the cards has this sentiment from the Christmas Messages stamp set.  The "Merry Christmas" on the front of the cat card is from the More Merry Messages set which was current at the time of the class but is retired now.  You can, however, get it as a digital download in MDS.  The sentiment on the dog card is part of the Hot Diggity Dog stamp set.


Forever Stampin',
    Cathy Williams


Product List
Stripes Textured Impressions Embossing Folder Die
[123128]

Wednesday, April 16, 2014

Christmas in April, Part V

 Here is the final card from the Christmas card class last fall.  I loved being able to make a flip card for Christmas.  I also pulled out the Illuminate Glimmer Watermark Stampin' Pad which I had purchased when it first came out but I had never used it.  I love it!  I cannot believe it sat for almost a year before I began using it.  This year I used it so much that I had to order the refill because we had used up all of the ink.  You can see a faint snowflake in the center of the sentiment on the inside of the card - this is what was done in the Illuminate ink.
Here is the card closed up so  you see the front of it.

Here's what you will need to duplicate this card:
Stamps:      Festive Flurry, More Merry Messages
Inks:           Island Indigo, Illuminate Glimmer Watermark
Paper:       Pool Party, Whisper White, Winter Frost DSP, Silver Glimmer
Other:       2 3/8" Scallop Circle punch, Festive Flurry framelit, Rhinestones, Silver ribbon
                   Tasteful Trim die, Circle Card Thinlet die

Forever Stampin',
    Cathy Williams

Tuesday, April 15, 2014

Christmas in April, Part IV

This card is a mix of old and new -- some retired items along with some current items.  Although I must admit when I first chose this card, I thought the "merry" framelit was still current!  I didn't remember that one retiring. 


Here's what you will need to duplicate this card:
Stamps:      Snowflake Soiree (current but not in catalog); Merry Messages (retired)
Inks:           Pool Party, Coastal Cabana
Paper:       Whisper White, Coastal Cabana, Basic Gray, Winter Frost DSP, Silver Glimmer
Other:       Snowflake die (retired), Expressions framelit (retired), Lattice die (Current),
                  Rhinestones

Forever Stampin',
    Cathy Williams

Monday, April 14, 2014

Christmas in April, Part III

 Here is the third card from our Christmas card class.  Each of these cards was inspired by one that I either received as a swap card at convention or off of Splitcoaststampers.   I am horrible about keeping track of where I got my inspiration but if you find that one of my cards appears to be based on one of yours, let me know and I will definitely give you credit!
In this card, we used the Snowflake Soiree and the More Merry Messages stamp sets which were carried over from the 2012 Holiday catalog.

Here's what you will need to duplicate this card:
Stamps:      Snowflake Soiree, More Merry Messages
Inks:        Pool Party, Midnight Muse
Paper:     Midnight Muse, Pool Party, Whisper White, Winter Frost DSP
Other:       Stylish Stripes folder, Dazzling Diamonds, 3/16" Corner punch, Midnight Muse ribbon

Forever Stampin',
    Cathy Williams

Friday, April 11, 2014

Christmas in April, Part II

 Here is another card that we made at the Christmas class.  Here, we embossed using Gold embossing powder onto Cherry Cobbler and Gumball Green cardstock for the poinsettia and leaves.  Early Espresso Core'dinations paper was embossed using the Lacy Brocade (retired) embossing folder.  We used the Glass Stampin' Glitter in Champagne on top of a big glue dot.  Finally, the sentiment was embossed and cut out using the Bitty Banners framelits.


Here's what you will need to duplicate this card:
Stamps:      Joyful Christmas, More Merry Messages
Inks:         VersaMark, Cherry Cobbler
Paper:     Whisper White, Cherry Cobbler, Gumball Green, Early Espresso Core'dinations,
                 Season of Style DSP, Champagne Glimmer paper
Other:       Gold embossing powder, Lacy Brocade folder (retired), Bitty Banner framelit,
                  Champagne Glass Glitter, large glue dot

Forever Stampin',
    Cathy Williams

Thursday, April 10, 2014

Christmas in April????

 My next few posts will be of Christmas cards made last year at my annual Christmas card class.  I cannot believe how behind schedule I am but these cards may inspire you to get started on your Christmas cards now!  The thing I love about this first card is that is uses a stamp set that is not specifically a Christmas set.  I love that it highlights the versatility of the set. 
The challenge for a big Christmas card class is to have enough sentiments for the inside of the cards.  Some times I have to dig out a retired set - like this one (Merry Messages) - in order to have enough sentiments to go around.  If you don't have this set, you could use one from More Merry Messages which came out during the 2012 Holiday catalog but is still available for order.

Here's what you will need to duplicate this card:
Stamps:      Mosaic Madness; More Merry Messages
Inks:        Cherry Cobbler, Gumball Green, Early Espresso
Paper:     Whisper White, Gumball Green, Cherry Cobbler, Season of Style DSP
Other:       Mosaic & Itty Bitty Shapes punches, Modern Mosaic folder, Cherry Cobbler seam
                   binding, Cherry Cobbler twine, Rhinestones, Cherry Cobbler Dazzling Details

Forever Stampin',
    Cathy Williams

Wednesday, January 23, 2013

GIft Card Holders, Part Three.....

 Here's a fast & easy one to make.  It is a bit small for a gift card but would be perfect for a folded up bill - a $50 in my stocking would be awesome!!!  Yeah, right.... like that will happen!

Here's what the card looks like when the card is put in the present.  Just pull on the little tag and out it comes!  To make the present, you just need a 4"x8" piece of patterned paper, fold it in half and secure it along both sides.  You want the adhesive just along the outside edge so you have as much room as possible on the inside.  Take a 1 3/8" Circle Punch and punch out a half circle at the top.  Take an 8" strip of ribbon and wrap it around the present horizontally in the middle with the ends meeting in the middle front.   Then take another 8" piece of ribbon and wrap vertically and tuck in the front and back.  This covers up where your horizontal pieces meet.  Now just add a bow.

For the card itself, I used a Scallop Circle die which is retired but you could use the 3 1/2" Circle die and then use the 3" Circle die for the front layer.  You will need to cut the small strip of patterned paper with the 3" Circle die as well before attaching it.  Make sure to attach as close to the outside edge as possible.  The Multipurpose Glue works great for this.

Here's what you will need to duplicate this card:
Stamps:       Mixed Medley (Holiday Catalog Hostess) & More Merry Messages
Inks:            Gumball Green & Cherry Cobbler
Paper:         Cherry Cobbler, Very Vanilla, Gumball Green & Be of Good Cheer
                     Designer Series Paper
Other:         Cherry Cobbler Baker's Twine, Cherry Cobbler Seam Binding, Circle
                     Dies, 1 1/4" Scallop Circle Punch, 1" Circle Punch, Oval Punch, Scallop
                     Oval Punch, 1 3/8" Circle Punch

Forever Stampin',
    Cathy Williams

Wednesday, January 16, 2013

Stampin' Up!'s Greetings of the Season....


I know it is past Christmas but I need to catch you up on what I have been making so you will be seeing some Christmas cards over the next few days.  Just bookmark the posts for next year if you want CASE anything.
This card was made at my friend Carmaine's house.  At Christmas in 2011, she gave me the poinsettia die so I though we ought to make a card with it.  Hopefully, Stampin' Up! will have one next year!

Here's the inside of the card.  If you like this card but do not have a poinsettia die, the poinsettia from the Watercolor Winter stamp set would be beautiful on this card.

Here's what you will need:

Stamps:       Greetings of the Season, More Merry Messages & Watercolor Winter
Inks:            Cherry Cobbler and Early Espresso
Paper:          Cherry Cobbler, Very Vanilla, Garden Green and Riding Hood Red
Other:          Finishing Touches Edgelits, Holiday Frame Embossing Folder,
                    Pearls, Dazzling Diamonds

Forever Stampin',
    Cathy Williams

Thursday, November 15, 2012

Ornament Keepsakes Stamp Set...

Here's the final card from my recent Christmas card class.  It uses several products that I haven't used much in the past so it was really fun.

 Here's what you will need to make this card:
  • Crumb Cake and Whisper White cardstock
  • White Vellum paper
  • Brushed Gold cardstock
  • Crumb Cake and Early Espresso classic ink
  • Ornament Keepsakes, En Francais and More Merry Messages stamp sets
  • Scallop Border punch
  • Crumb Cake Seam Binding ribbon
  • Lacy Brocade embossing folder
  • Ornaments framelits
  • Champagne Mist Shimmer Paint
  • Jumbo Pearl
Here's the inside of the card which was stamped with Crumb Cake ink for the ornament and Early Espresso for the sentiment.  On the front of the card, "Christmas Blessings" was stamped in Early Espresso as well.  Stamping on the brushed gold papre makes the ink a little lighter but has a really cool iridescent look to it.

Forever Stampin',

    Cathy Williams

Monday, November 12, 2012

Watercolor Winter Stamp Set...

The third card from my Christmas class uses the Watercolor Winter stamp set from the Holiday catalog.  This card was also inspired by a swap card I received as part of Deb Townsend's WOW catalog swap.

 Here's what you will need to make this card:
  • Old Olive, Real Red, Soft Suede and Very Vanilla cardstock (yes, the mattings are all Soft Suede although they look more like Always Artichoke in this picture!)
  • Soft Suede, Old Olive and Real Red classic ink
  • Stripes embossing folder
  • Watercolor Winter and More Merry Messages stamp sets
  • Pearls
  • Dazzling Diamonds
Here's the finished inside of the card.

Forever Stampin',

    Cathy Williams

Thursday, November 8, 2012

Here Comes Christmas....

Doesn't it seem that Christmas is coming to the retail stores earlier and earlier every year?  I sure think so.  I saw Christmas items out before Halloween!  Of course, I can't really complain since I held my annual Christmas Card Class in October this year.  With being gone for a couple weeks in November, I had to plan ahead.
Were you there?  If not, why not?  We had a great time and everyone got an early start on their Christmas cards.  Here's the first of five cards that everyone made.  Everyone was able to choose how many of sets they wanted to make.  Most made 2 or 3 sets, leaving with 10 or 15 cards made but my cousin ordered 20 kits!  That's right - 100 cards!  Unfortunately she wasn't able to attend the class and has to make her cards over Thanksgiving.
I want to say "thank you" to a very talented artist on Splitcoaststampers for this card which I CASE'd.

 Here's what you will need to make this card:
  • Midnight Muse, Whisper White & Baja Breeze cardstock
  • Midnight Muse, Summer Starfruit and Baja Breeze classic ink
  • Ornament Keepsakes and More Merry Messages stamp sets
  • Ornament Framelits
  • Summer Starfruit Satin Ribbon
  • 1" Circle punch
  • Festive & Essentials Paper Piercing Packs
  • Rhinestones
Here's the inside of the card.  If you want to make this card, the only recommendation I would make is that you do the piercing for the ornament in the center of the front of the card and stamp "Merry Christmas" before stamping the small ornaments.  This helps with making sure you locate them where they look best.

Forever Stampin',

    Cathy Williams

Tuesday, October 23, 2012

Technique Tuesday ... Cracked Glass Technique


I am back with a Technique Tuesday this week for you.  I have really missed these and hope that you find them useful.  This week's technique is Cracked Glass and is an awesome technique for holiday cards and very easy to make!
 Here's what you need:
  • Cardstock
  • Epsom Salt
  • Boiling Water
  • Measuring Cup (1/4 c.)
  • Paint Brush or Foam Brush
 Take 1/4 cup Epsom Salt and add to 1/4 cup BOILING water.  Mix together until dissolved.
 Brush onto cardstock and let dry - best if you let it dry overnight.  Once it has dried, it will look like this.
If you want more crackles, you can bend the cardstock and cause more cracking.
 
 Another idea is to run it through the Big Shot with an embossing folder.  In this picture you can see that I ran it through with the Northern Flurry embossing folder.  The embossing is more noticeable in person.
Here's the card that I ended up making using this technique.  The stamp sets used are Traditional Touches from the Holiday catalog and More Merry Messages (the MUST HAVE stamp set for the season!) from the Main catalog.  Colors used are Night of Navy, Marina Mist and Baja Breeze.

Wednesday, September 26, 2012

Frosty Friends from the Holiday Catalog

This is another card from the "Wow" swap that I participated in.  My assigned stamp set was Frosty Friends.  The real "wow" to this card is the frosted glass technique that I did on the Night of Navy cardstock.  Keep your  eye out on a Technique Tuesday to learn how to do this easy technique.  The picture is not very clear but the card looks like there are ice crystals on the cardstock like you get on your windows during the winter -- at least if you live in a cold climate!
 
 Here's the list of items to make this card:
  • Cardstock - Marina Mist, Baja Breeze, Whisper White and Night of Navy.
  • DSP - Regals Patterned Pack & Silver Glimmer paper
  • Stamp Sets - Frosty Friends and More Merry Messages
  • Inks - Black StazOn, Night of Navy and Marina Mist
  • Markers - Pumpkin Pie, Marina Mist, Gumball Green and Real Red
  • Baja Breeze Seam Binding
  • Scallop Trim Border and 1 3/4" Punches
  • Circles #2 & Snow Flurry dies
  • Rhinestones
Here's the completed inside of the card.